Painters Tape!
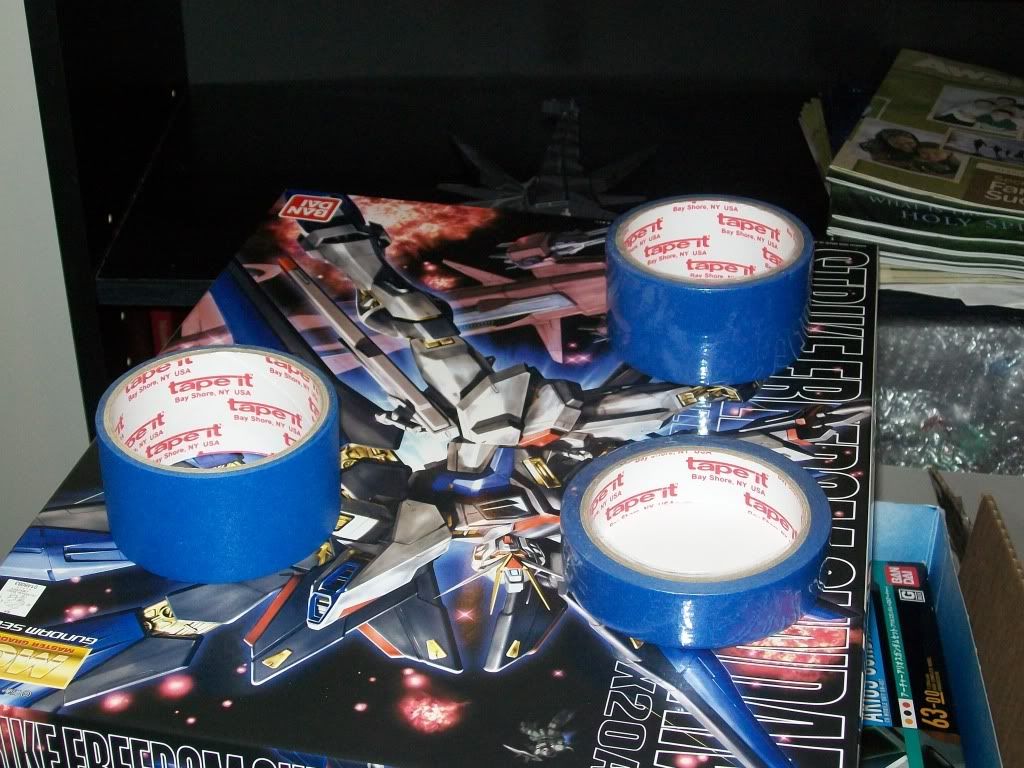
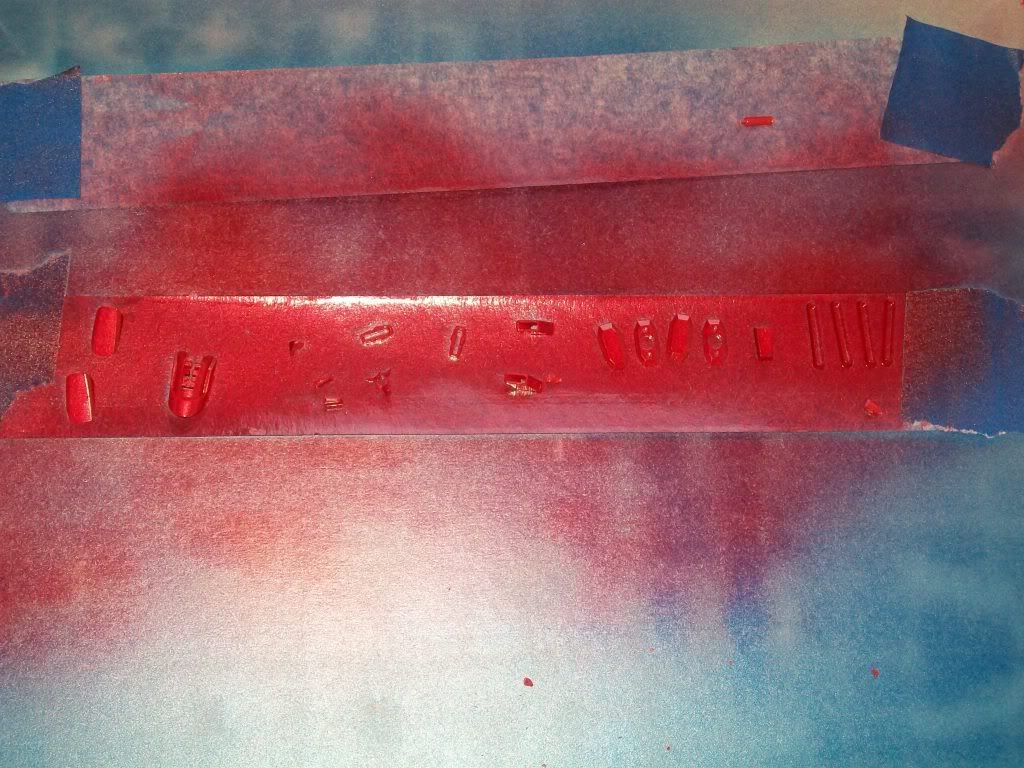
I never tried it but it works nicely to do 3 things at once.
1.Spray the pieces
2. Cover Nubs
3. Keep Parts together
Before I would just keep them on the trees to make sure they wouldnt move but this method is better. It takes a bit more time but I think it will be worth it in the end.
I decided that I was going to paint my Freedom Different colors. Heres my paint scheme
Dark Blue = Black
Blue = Metallic Blue
Red = Metallic Red
Greyish Area on Rail Guns = Gunmetal Black
White = Untouched
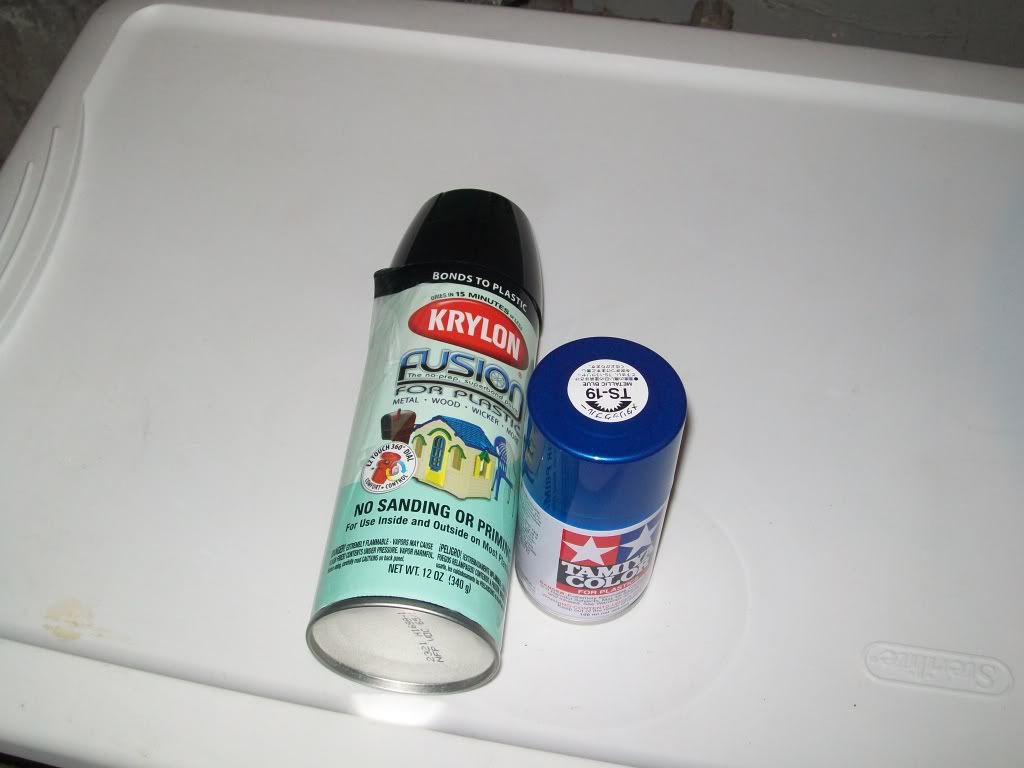
Since I see myself using Black alot I figured I would try Krylon Fusion for Plastics
and I got some Krylon Matte Top Coat
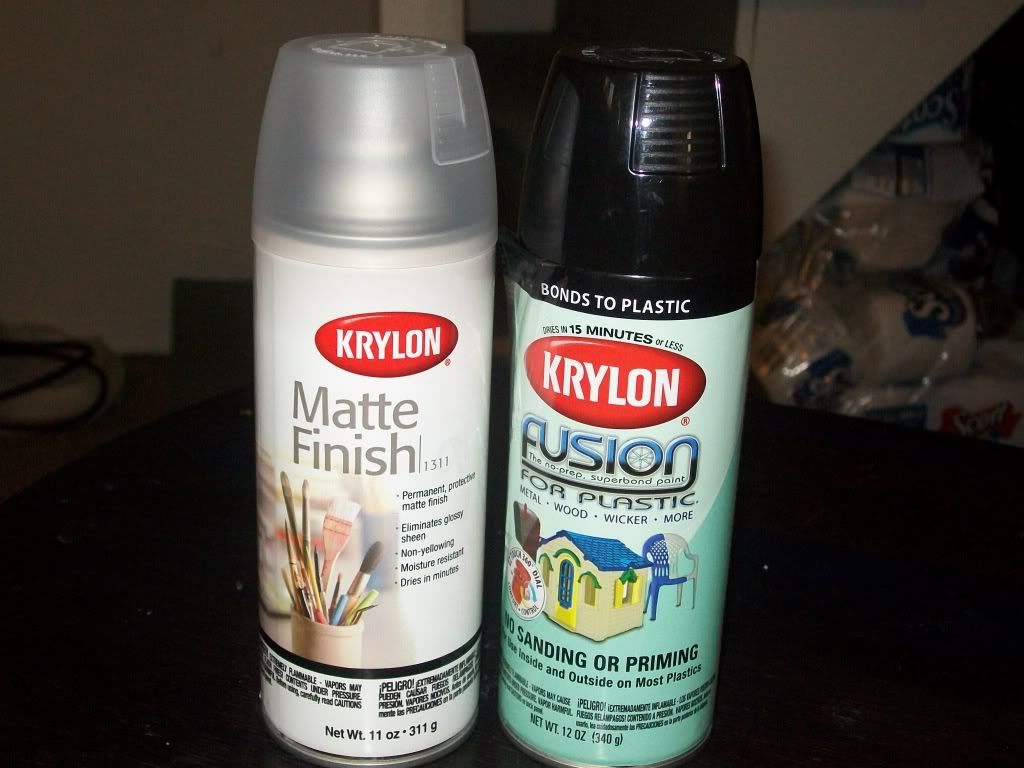
I will say since im new to Krylon and im usually using Tamiya, there is a trick for Krylon to work perfectly.
First of all using Tamiya you only need one coat or at least a couple passes while its wet and it bonds great.
Krylon I found out I needed at least 3-4 coats. First coat looked like someone spilled oil or water on my pieces
and I was so scared. But I applied another coat looked better but still had some oily looking stuff applied another coat
was looking really good then I applied another coat and bam was perfect. Here are a couple pics the first are kinda dark u might not be able to see
what i was talking about but the finished product as you can see looks fantastic.
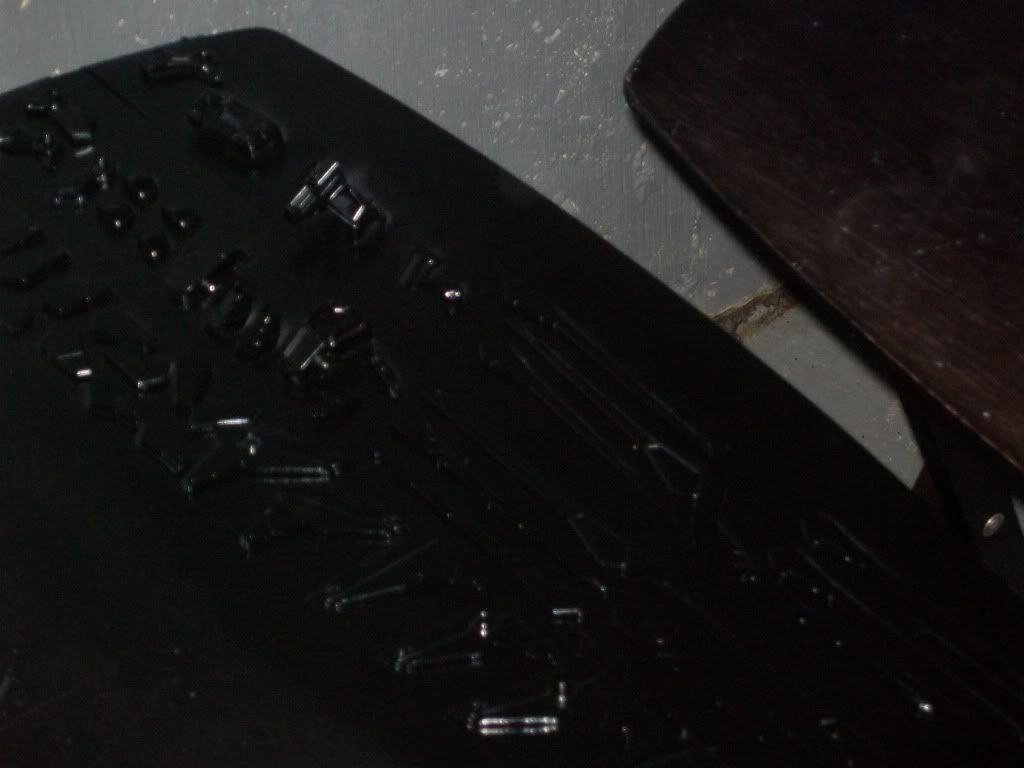
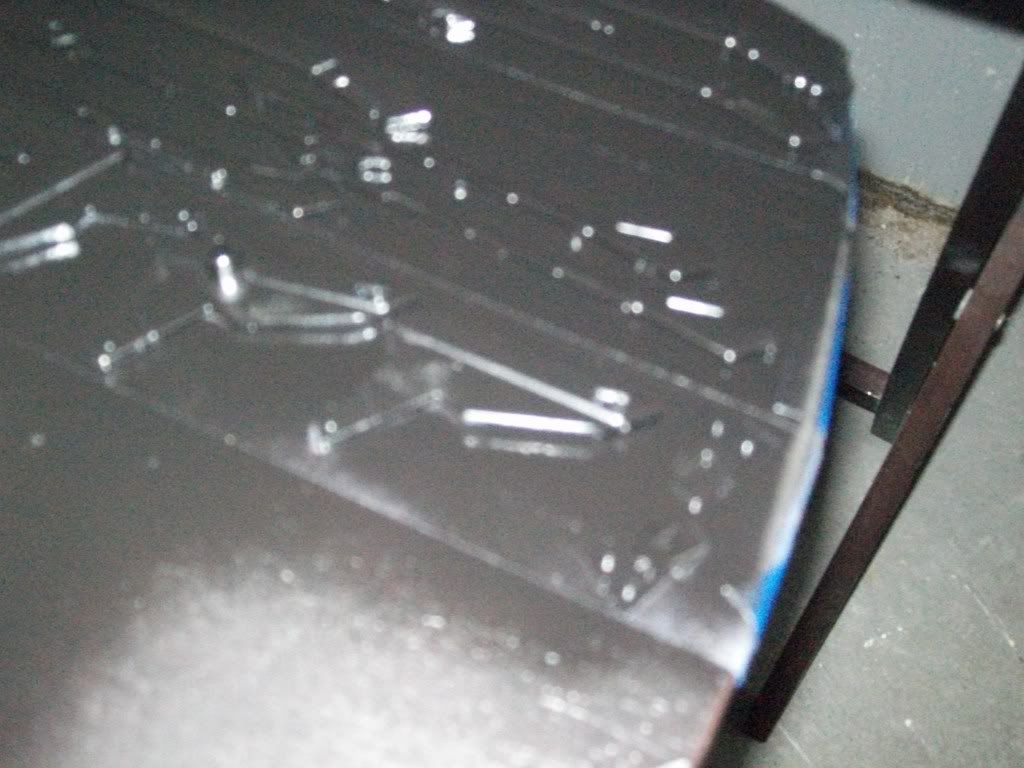
Messed up in IMO. Look at second pic the pieces on thebottom see how its not even?
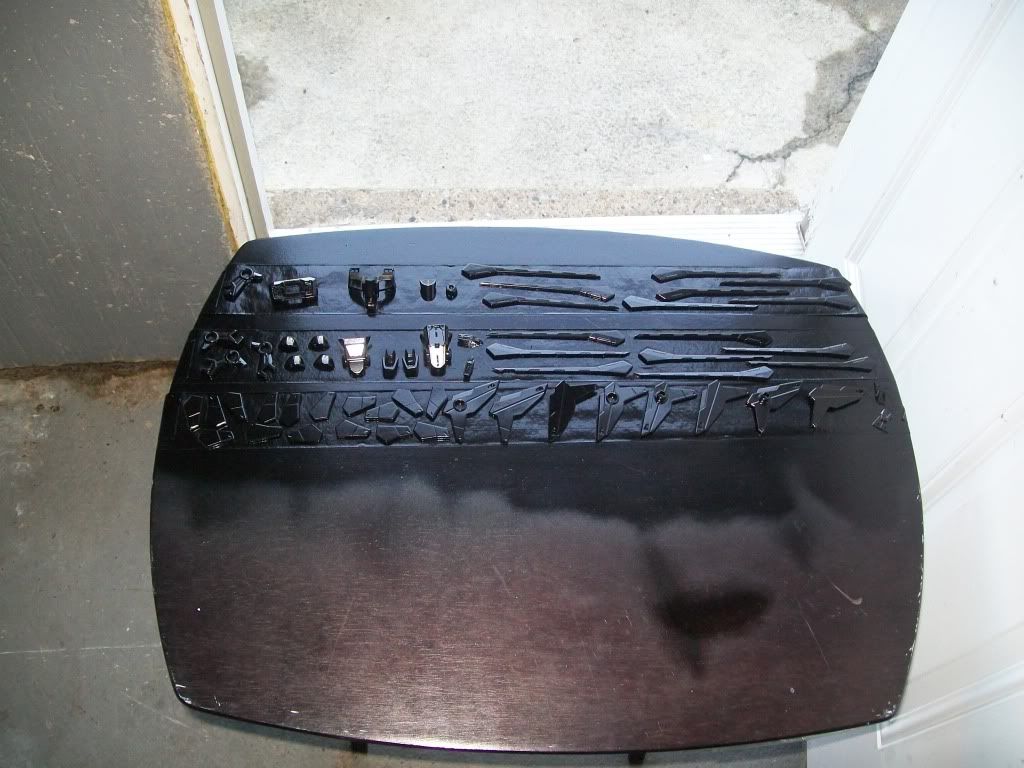
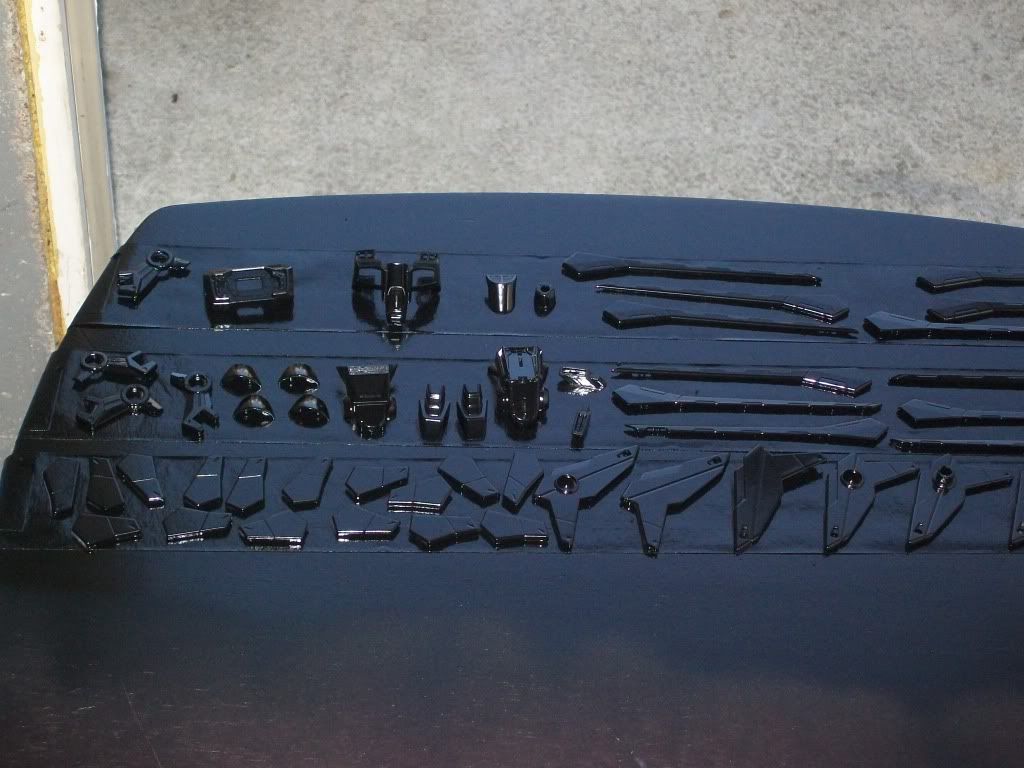
These look better
Now looking at the Tamiya Spray which I only needed 1 Coat or i should say 3 passes left to right right to left and 3 passes up and down down and up
while it was still wet.
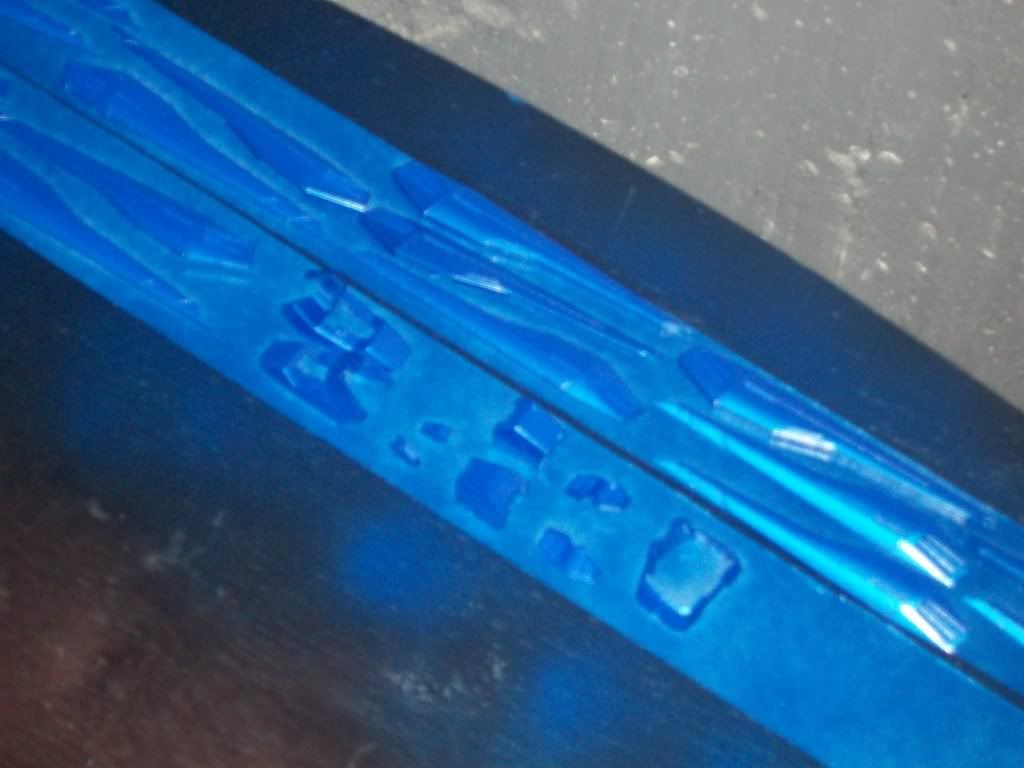
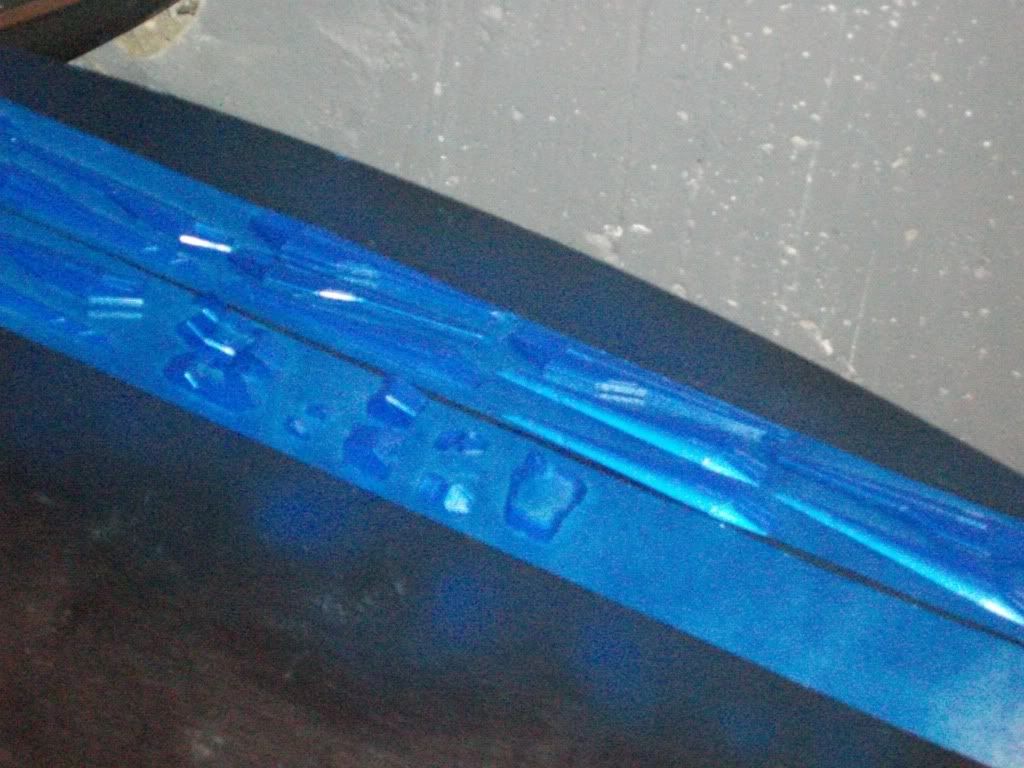
So this came out really nice and I have a new found respect for Krylon. Now I like the way this was done I am going to grab some more colors. They
range about 5-6 bucks a Can but as u can see from the pic below you get alot more, and it has a cool nozzle to change the direction of the paint.
So now all thats left is cutting and denubbing all the gold parts and spraying with my Tamiya Gold then its time to assemble this bad boy and
panel line as I go. After I finish this kit I'm going to do some touch up work on Destiny and then its off to the competition.

No comments:
Post a Comment